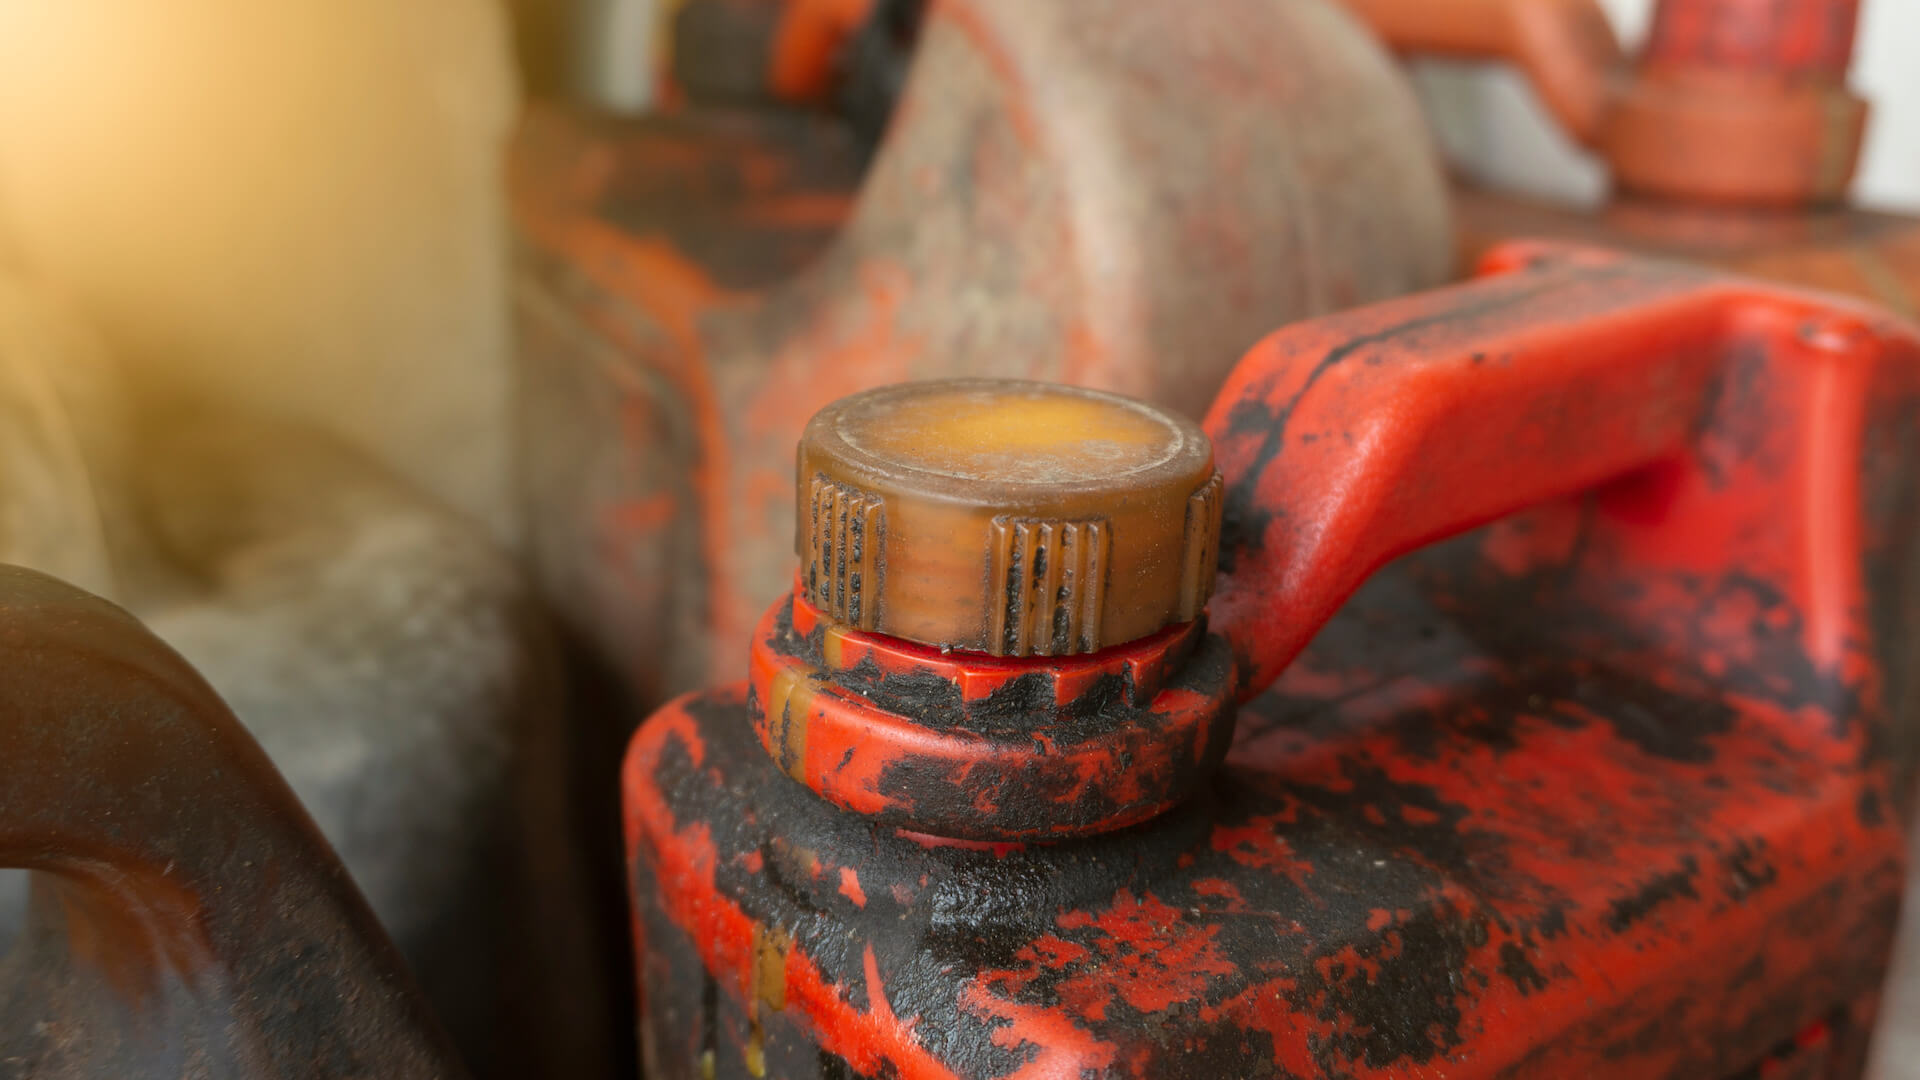
Keeping your gas cans clean (inside and out) will increase their longevity, prevent fuel contamination, and keep storage areas clean from the grime that builds up over time.
This blog will outline the required but minimal materials and simple steps to ensure you properly clean your gas (red), diesel (yellow), and kerosene (blue) fuel cans.
Read on to learn more about a small thing you can do to keep your old gas cans in working condition longer.
Exterior & Interior Cleaning Materials
Most materials you need to clean your fuel can already be found around your home or work area.
Exterior Materials:
- Dish Soap (e.g., Dawn®)
- Soft-Bristled Brush (e.g., toothbrush)
- Warm Water
- Bucket (to combine and hold the water and soap solution)
Interior Materials:
- Dish Soap
- Hot Water (not warm)
- Screws, Gravel, etc. (if needed for tough grime or dirt)
Before You Start Cleaning
IMPORTANT:
Whether you’re cleaning the exterior, interior, or both, empty your portable fuel can of any fuel. Gasoline, diesel, and kerosene are all considered household hazardous waste.
Each state and county will have its regulations for hazardous waste materials. In most cases, the waste materials must be brought to a specific disposal site.
You can find this information on your state or local government websites.
For Saint Louis, Missouri residents, that information is available at https://www.hhwstl.com/locations.
DO NOT clean your fuel can near an open flame or sparks.
Exterior: 6 Cleaning Steps
1. Mix the warm water and dish soap in your bucket until both materials are sufficiently combined.
2. Dip your soft-bristled brush in the soapy solution, completely saturating it.
3. Start scrubbing any dirty areas.
4. Rinse your brush often by dipping it back into the bucket as you work through dirt, oil, etc.
5. Remember to get those forgettable spots. Turn the fuel can over to clean its base. And pay close attention to the base cap or spout.
6. Once you’ve cleaned everything to your standards, rinse each surface with water and leave the fuel can dry in a well-ventilated area.
Before using your portable fuel can, it must be completely dry to avoid water contamination.
Interior: 7 Cleaning Steps
1. Pour some dish soap into the fuel can. There is no specific measurement you need to follow. Use your best judgment. You can always add more if needed.
2. Fill the can halfway with hot water. If necessary, you can also add any material (screws, gravel, etc.).
3. Ensure your fuel can’s base cap or spout is sealed along with the vent cap and shake firmly. You can choose how long to shake your fuel can.
4. Dump the solution from the can to remove any dirt, grime, oil, or other materials that may have come loose (you may have to repeat this step to achieve the desired results).
5. Fill the container with water and shake it to rinse out any remaining cleaner (the water and soap solution). Dump the contents and repeat this step until all soap is removed.
6. Open the vent cap and pour water (not the soapy solution) through the spout to clean the filter. If you’re using EZ-POUR® products, this filter would be the flame arrestor.
7. Place the fuel can and spout in a dry, well-ventilated area to dry. Remember, DO NOT use it until all the components are completely dry.
Keep Using Your Old Fuel Cans with EZ-POUR® Spouts!
By now, it’s clear that the older fuel can models are more efficient and safer than the ones currently on the market.
Our variety of EZ-POUR® spouts means you’ll find everything you’ll need to use your old gas can like it’s brand-new.
Who wouldn’t want a controlled yet quick flow from spouts you can use for your lawn mower, car, and everything else beyond or between?
Browse our website today to view our spout kits and all the necessary resources to know which parts you might need to fit our spouts to your fuel can.

